What does paving maintenance actually involve? For well-built block paving, the Concrete Manufacturers Association’s design manual lists three jobs: replacing jointing sand, treating weeds, and correcting surface levels where there were localised construction defects [2]. Most of the rest is cleaning, and the trick with cleaning is not emptying the joints while you do it.
Where we stand: paving is our trade, and we do the re-jointing and relaying of worn paving when home upkeep is no longer enough. We are not a cleaning company, so this is the routine for doing it yourself. We quote that manual [2], the CMA’s DIY paving guide [3] and the UK’s Interpave [4]. All are concrete paving industry bodies writing about their own product, so we say where the advice is ours.
The short version
- Clean gently. Brush regularly, and scrub with soap and warm water when the colour looks masked [4].
- Go easy with the pressure washer. A power hose can strip the jointing sand, so check and refill the joints afterwards [4].
- Match the cleaner to the mark. Use a product made for that stain, follow its label and test a small hidden area first [4].
- Keep the joints full. Top them up with a finer plaster sand, not the coarse bedding sand [2].
- A sunken patch is a repair. In our view it needs lifting and relaying, not more sand or a stronger cleaner.
How to clean paving, step by step
Sweep, deal with weeds and moss, test your cleaner on a hidden corner, scrub with soapy water and a stiff brush, rinse, then top up the joints once the paving is dry.
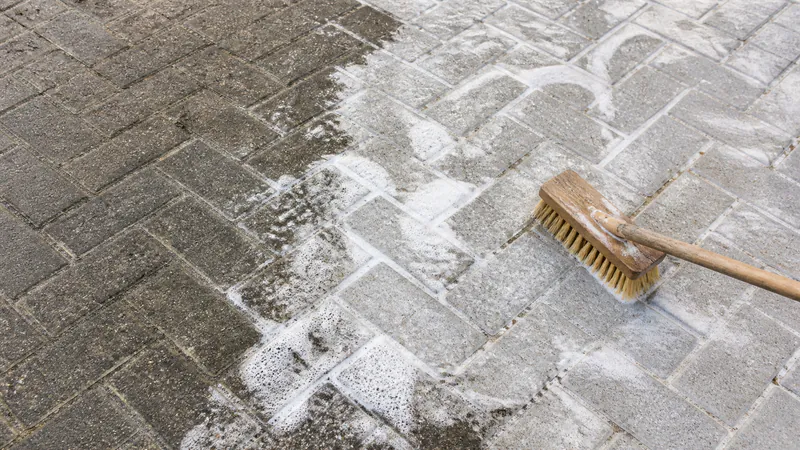
- Sweep first. For general dirt and detritus, Interpave recommends regular brushing [4]. Clear leaves and grit out of the channels while you are there.
- Pull weeds and treat moss before you wash. Weeds and moss are covered below; cleaning over them only moves the problem around.
- Test a small patch. Try any cleaning method on a small, preferably inconspicuous area first [4].
- Scrub. If the colour has become masked, scrub with soap and warm water [4]. For other stains, use a hard brush and a proprietary detergent, then wash off with clean water [3].
- Rinse, and watch where the water goes. Cape Town’s Stormwater By-law bars putting anything other than stormwater into the stormwater system, or onto a surface where it could reasonably be expected to get there, without the City’s written consent [1]. Rinse all the soap off and channel the run-off to drainage points or containers for safe disposal [4]; in our view that means a garden bed or a container, not the street drain.
- Let it dry, then re-sand. Brush dry jointing sand into any joints that have lost sand. Brush it in, don’t wash it in: washed-in sand forms a “bridge” that collapses later [3].
On clay pavers or natural stone, use the supplier’s cleaning advice: Interpave’s notes are written for precast concrete paving [4].
Pressure washing without emptying the joints
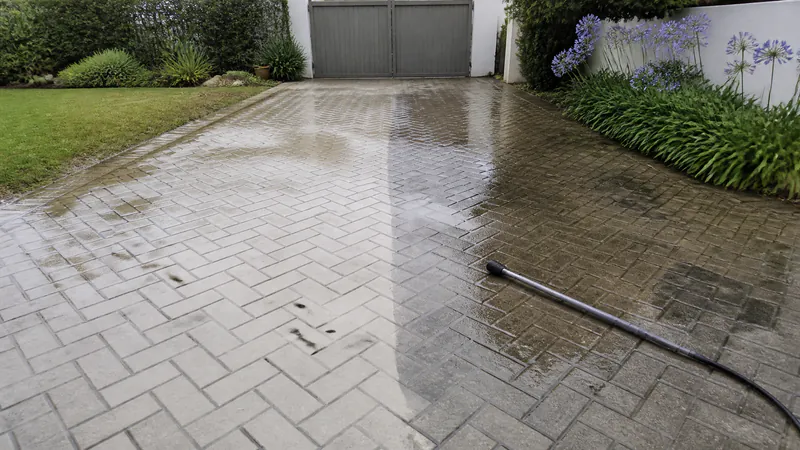
You can pressure-wash paving, but Interpave says care must be taken to avoid removing the jointing material, and that the paving should be inspected and the joints refilled as required afterwards [4].
Do
- Try it on a hidden corner first [4]
- Keep the jet low and across the joints: Interpave’s guidance for water-jetting equipment is an angle “not greater than 30° to the horizontal and diagonally across the joints (i.e. not parallel)” [4]. In our view, keep the nozzle well back too
- Let the paving dry, then brush dry jointing sand into any open joints; brushed in, not washed in [3]
Watch out for
- A narrow jet aimed into a joint: in our view it blows the sand straight out
- New paving: until the joints have become stabilised, brush it by hand only [4]. In our view, hold off pressure washing until then too
- Wash water running towards the street drain: the by-law bars anything other than stormwater from the stormwater system without the City’s consent [1]
If the joints empty every time you wash, or the paving rocks underfoot afterwards, stop washing and read the section on when maintenance is not enough, further down.
Which cleaner for which mark
Use a product made for that specific stain, follow its label, and test it on a hidden corner first. For the common marks, this is what Interpave and the CMA say [2][3][4].
| Mark | What the guidance says |
|---|---|
| General dirt | Regular brushing; if the colour is masked, scrub with soap and warm water [4]. |
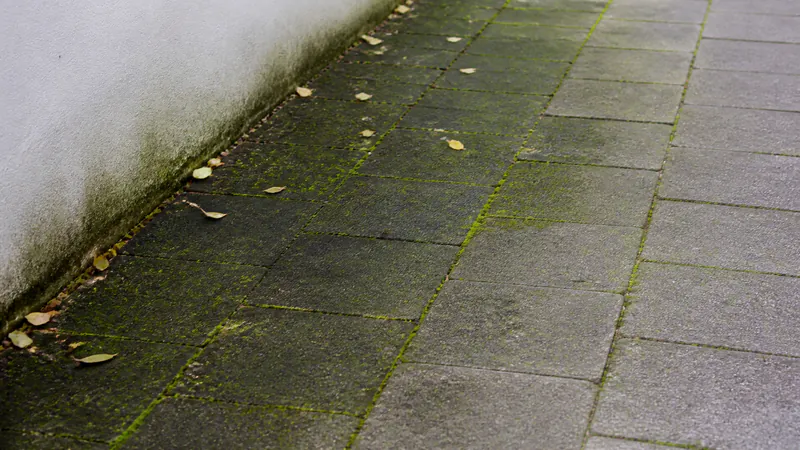
| Moss, lichen and algae | They should not grow on concrete unless the area is “heavily shaded, is under trees or is not adequately drained”. Treat with a proprietary cleaner made for the purpose, used to its maker’s instructions [4]. |
| Oil | Blot it fresh; for a set stain, see the next section [2][3][4]. |
| Rust | Remove the source first. Interpave describes an acid-based concrete cleaner, and warns it may leave a slightly roughened surface or leach out some of the pigment [4]. In our view, that is a job for someone who uses acid cleaners regularly. |
| Tar or bitumen | Let it cool, then scrape it off; ice can make it more brittle. Test any proprietary remover on an inconspicuous area first [4]. |
| Tyre scuff marks | Steam cleaning, or scrubbing with hot water and a strong detergent [4]. |
| Paint | Soak up fresh paint without wiping it; scrape dried paint and use a suitable remover, and test any remover on a hidden area first [4]. |
| White bloom | Usually efflorescence, which fades on its own: see below [2]. |
Acid cleaners need respect. Wear protective clothing such as gloves and goggles, and when diluting, always add acid to water, never water to the cleaner [4]. The CMA’s DIY guide, on efflorescence, calls an acid wash “expert use only” [3], and in our view the same caution applies to any acid cleaner.
Moss that keeps coming back is a shade and drainage problem: treatments that leave a residue to discourage regrowth are of limited value if the paving stays damp and in shade [4].
Oil stains and sealing
Blot fresh oil straight away. For a set stain, the CMA suggests a product made for the job or, failing that, a strong detergent scrub and a wash-down [2]. On sealers for concrete pavers, the CMA’s guide lists surface sealants as not recommended [3]; the UK’s Interpave is warmer on them [4].
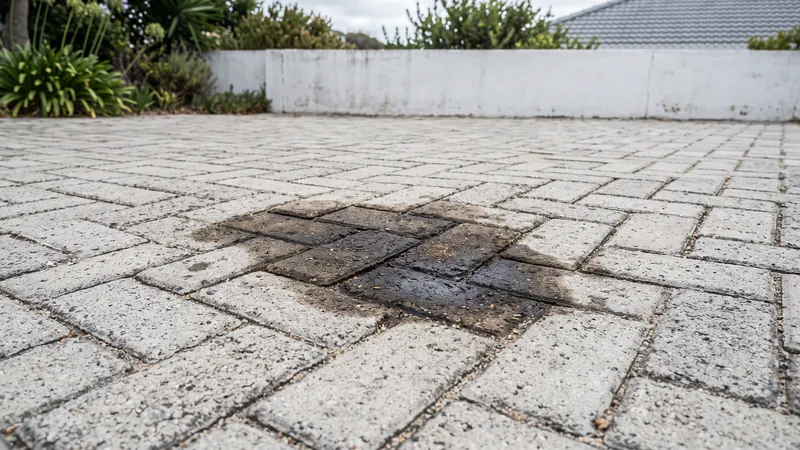
- Fresh oil: cover it with cat litter as soon as possible, so the oil is absorbed and the litter brushed off [3]. Blot a spill rather than wiping it, which drives the oil in and spreads it [4].
- Set stains: the CMA’s design manual points to “proprietary products which have been designed specifically for this purpose”, or, failing those, paving “scrubbed with a strong detergent and washed down with water” [2]. A detergent scrub might also leach out some pigment [4], so try it on a small area first.
- Sealers on concrete pavers: the CMA’s DIY guide lists surface sealants as “not recommended”, citing high initial cost, abrasion removing the sealer from the surface, and regular maintenance [3]. Interpave, the UK body, is warmer on sealing and calls it a potentially cost-effective way to improve appearance, but notes a sealer may affect colour and slip resistance, may need ongoing maintenance, and needs a dry, clean surface [4].
- If you do seal: we have found no re-seal interval we can stand behind. Check the sealer’s data sheet covers your surface, and follow it.
White bloom on new paving
A whitish bloom on new concrete pavers can be efflorescence. The CMA calls it mostly temporary and purely superficial, and says it usually disappears of its own accord [2].
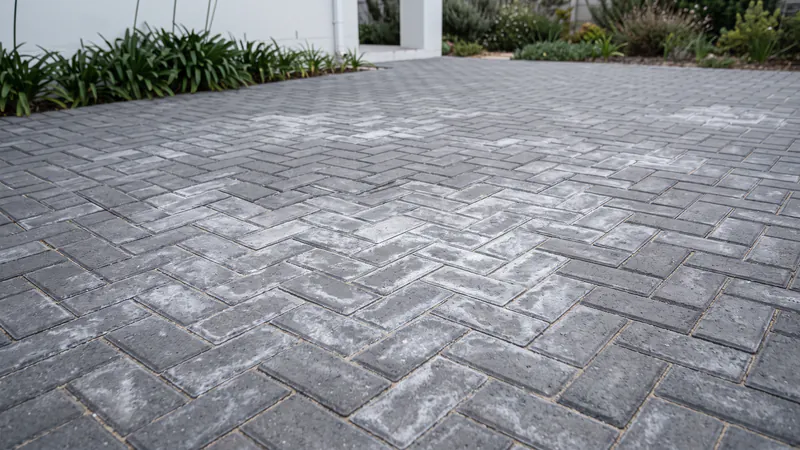
- What it is: free lime in the cement, dissolved and carried to the surface by water, then left behind as the water evaporates [2].
- When it shows: generally early in the life of the pavers, particularly when water is present and it is cold [2].
- How long it lasts: the CMA’s DIY guide says it will disappear with time, “usually after two rainy seasons” [3].
- Does it matter? No: it “does not affect the durability or strength of the concrete paving units” [2].
- If it has to go now: the pavers can be given an acid wash [2], but the CMA’s DIY guide marks that “expert use only” [3]. In our view, waiting is the cheaper option.
Keep the joints full, with the right sand
Check the joints about three months after laying and again after the first heavy rain, and top up whenever they have dropped, including after a wash. The CMA’s design manual gives about three months [2]; its DIY guide says six months or the first heavy rain [3]. Use a finer plaster sand, not bedding sand.
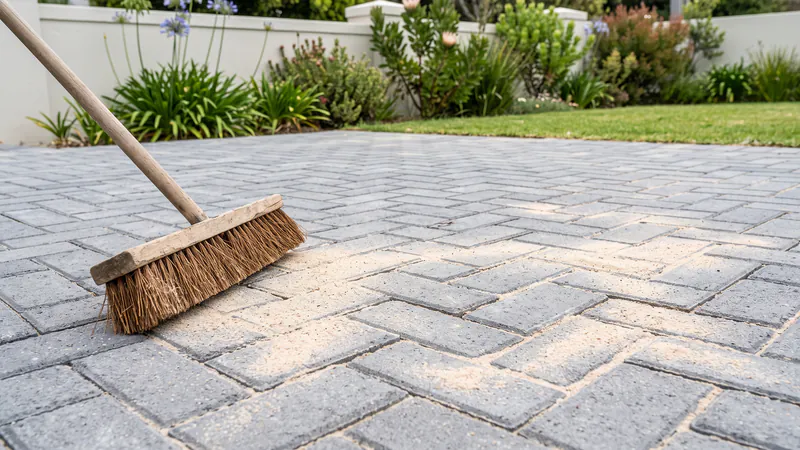
The CMA says jointing sand “plays an important role in the performance” of block paving, and that a little clay or silt in it “helps seal the joints against water ingress” [2].
Do
- Use a fine sand: “Coarse river sand is ideal for bedding, while a finer plaster sand is necessary for jointing” [2]
- Top up whenever the joints have dropped [2][3]
- Re-sand if joints lose sand in the first few months, which paving exposed to wind and water erosion can do [2]
Watch out for
- Cement mixed into the jointing sand: it “will lead to cracking and subsequent water ingress” and tends to discolour the paving [2]. For downpipes and outlets, see the drainage section below
- Refilling joints with the same coarse sand as the bedding layer [2]
- Polymeric jointing products: the CMA’s design manual mentions specialised polymers only for sealing airport joints; for ordinary paving it describes plaster sand. If you use one, follow its own data sheet
Correctly graded joint sand needs less maintenance [2]. A permeable paving driveway is a different build, with aggregate in its joints and its own routine.
Weeds: the CMA says most grow from seed, not from underneath
In large paved areas, the CMA says 90% of vegetation grows from wind-blown seeds germinating in the jointing sand [2]. Pull them while small and refill the gap.
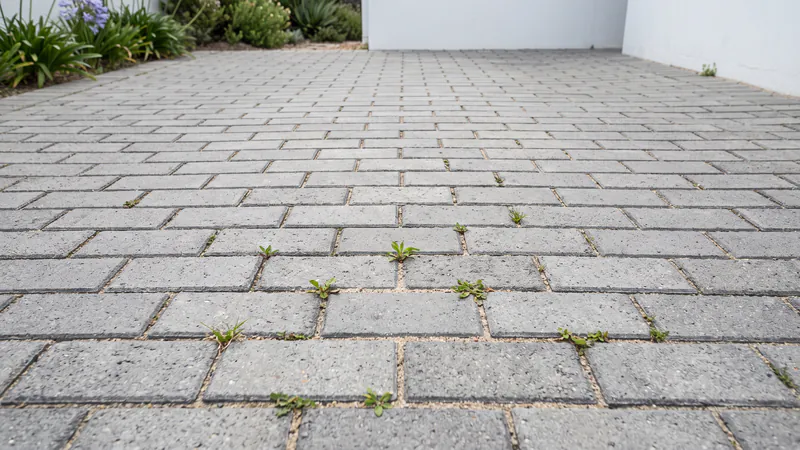
- Check where the root starts. In most cases the stem ends and the roots begin just below the surface of the blocks, in the jointing sand [2].
- Growth from beneath, such as Kikuyu grass: a suitable herbicide can be mixed into the jointing sand or sprayed over the paving, used with care and with expert advice on which one [2].
- Skip plastic sheeting. The CMA does not recommend sheeting under the pavers to stop wind-blown seeds [2].
Our view: on a home driveway, pulling weeds while they are small and sweeping sand back into the gap is the simplest routine.
Keep water moving off the surface
“Most failures of pavements are due to ingress of water into the pavement layerwork,” says the CMA [2]. Keep channels, gullies and outlets clear so rain leaves the surface.
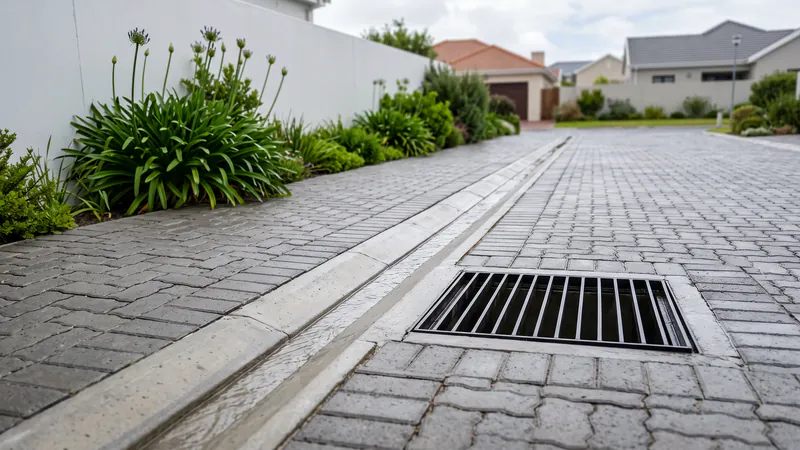
Water is the thread running through our guide to why paving fails early. Keeping the drains working is also on you: Cape Town’s Stormwater Management By-law requires the owner of a property with private stormwater systems to “at own cost, keep such stormwater systems functioning effectively” [1].
- Clear channels, gullies and grates of leaves and sand, especially through the wet months.
- Note where water stands after rain, and watch whether that spot grows.
- At a downpipe or stormwater outlet, the CMA’s two documents differ: the design manual suggests a little cement in the joint sand there, to help prevent wash-out [2], while its newer DIY guide says bentonite or a proprietary joint sealer, not cement [3]. In our view the newer guidance is the safer choice.
When cleaning and maintenance are not enough
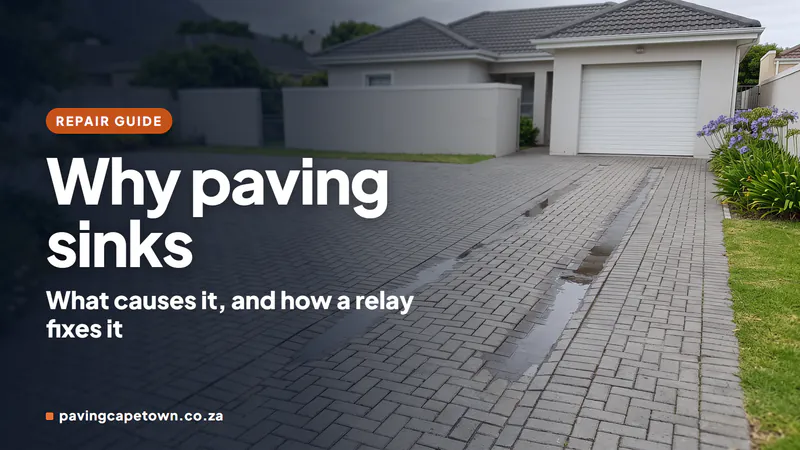
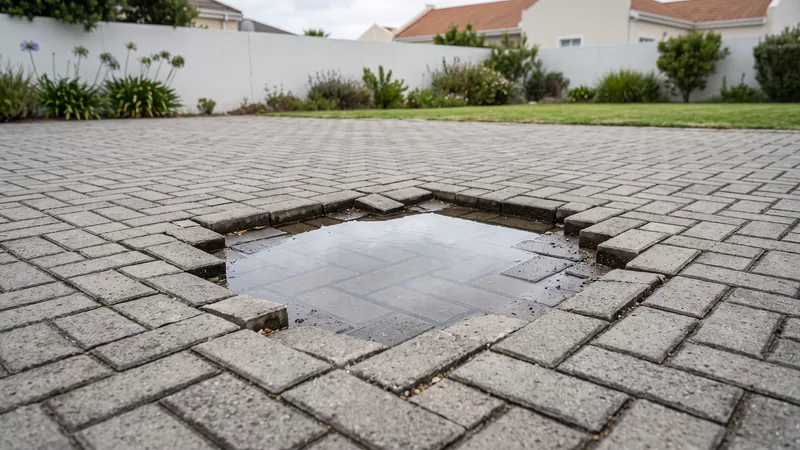
A sunken patch or a ridge from tree roots points to a problem below the surface, and joints that keep washing out need a look at where the water is coming from. The CMA’s fix for settlement is to lift the area, address the problem, reinstate the level and re-lay the pavers [2].
Maintenance can handle
- Joints that have dropped
- Weeds growing in the joint sand
- Oil, moss and other surface marks
- White bloom on new pavers
Get it assessed
- A sunken patch. The CMA names an inadequate subbase or subgrade, subsoil water, overloading or a bedding sand layer that is too thick [2]
- A ridge, pavers sitting proud, or joints opening in a line away from a tree
- Joints that wash out again soon after refilling
- Cracked or broken pavers
- A stain that has survived a tested cleaner, where the next step is acid: in our view a job for someone who uses acid cleaners, and the CMA’s guide, on efflorescence, calls an acid wash expert use only [3]
Laying new paving near a mature tree? Say so at quote stage: as our notes on paving in Constantia put it, a root barrier or a layout that lifts and re-sets is cheaper designed in than retrofitted. Where roots have already lifted a section, ask an arborist about the tree before the paving goes back down.
Our guide to how a sunken section gets lifted and relaid walks through the repair. If the failure runs across the whole driveway, a new paved driveway is also a chance to rethink the layout and bond.
Just had paving laid? Run the checks on new paving before you pay, and see the full range of paving jobs we quote.
Your cleaning and maintenance routine
- Regularly: brush leaves and grit off the surface and out of channels.
- When it looks dull: test a hidden corner, scrub with soapy water and a stiff brush, rinse, then re-sand once dry.
- New paving: check the joints about three months after laying and again after the first heavy rain, and top up whenever they have dropped [2][3].
- When weeds appear: pull them while small, then refill the joint.
- Oil drips: blot or cover with cat litter at once [3]; for a set stain, a product made for oil or a strong detergent scrub [2].
- Sealer on concrete pavers: the CMA’s guide lists surface sealants as not recommended [3]; if you use one, follow its instructions.
- After heavy rain: look for standing water, dips, ridges and rocking pavers, and get anything that is spreading assessed.
Common Questions
What can I use to clean my paving?
For general dirt on concrete pavers, Interpave recommends regular brushing and, where the colour is masked, soap and warm water with a scrub [4]. For a particular stain, use a product made for it, follow the label and test it on a small hidden area first [4].
How do I make pavers look new again?
Clean them, then fill the joints: scrubbing with soap and warm water can re-establish a masked colour [4], and fresh fine jointing sand swept in afterwards tidies the lines. If pavers have sunk or lifted, cleaning will not fix that; they need lifting and relaying.
Can I high-pressure wash my paving?
You can, but take care not to remove the jointing sand, and check and refill the joints afterwards [4]. Interpave’s guidance for washing equipment is to keep the jet at no more than 30° to the horizontal and diagonally across the joints [4]; brush dry sand in once the paving has dried.
How often should I seal my paving?
We don’t publish a sealing interval, because we have not found one we can stand behind, and for concrete pavers the CMA’s step-by-step guide lists surface sealants as not recommended [3], although the UK’s Interpave is warmer on sealing [4]. Natural stone is different: our pool deck stone comparison covers sealing travertine and slate. If you have sealed, follow the instructions for the sealer you used.
What’s the best way to remove weeds from paving joints?
Pull them while they are small and sweep fine jointing sand back into the gap; in large paved areas the CMA says most growth comes from wind-blown seeds germinating in that sand [2]. Where growth keeps coming from beneath, the CMA allows a suitable herbicide, used with care and with expert advice on the choice [2].
How do I get oil stains out of paving?
Blot or cover fresh oil with cat litter straight away, without wiping it [3][4]. For a set stain, the CMA suggests a proprietary product made for oil or, failing that, scrubbing with a strong detergent and washing down with water [2]; try it on a small area first.
What sand goes between paving bricks?
A fine jointing sand, not the coarse sand used for bedding: the CMA’s design manual says “a finer plaster sand is necessary for jointing” and that the same sand should not be used for both [2]. Don’t mix cement in [2]; at a downpipe or outlet, use bentonite or a proprietary joint sealer [3]. Polymeric products are also sold; if you use one, follow its own data sheet.
How much does paving maintenance cost per year?
We don’t publish a figure. On sound paving, the routine is mostly your own time plus jointing sand, cleaning products and sealer if you use one. A sunken patch or joints that keep washing out is a repair, and we price that after seeing it.
Paving sinking, lifting or losing its joints faster than you can refill them? We do free on-site assessments across Cape Town: we tell you what we think is going on underneath and follow with a written quote, with no obligation to use us for the work. See how we work out a price, or call 021 825 6396, weekdays 8am to 5pm.
Sources
- City of Cape Town — Stormwater Management By-law, 2005 (s3: prohibited discharges into the stormwater system; s4(b): substances placed where they could reach it; s8(1): owner responsibility for private stormwater systems on the property). openbylaws.org.za
- Concrete Manufacturers Association — Concrete Block Paving, Book 2: Design Aspects (jointing sand, sec 2.5; drainage, sec 2.7; maintenance: jointing sand, weed growth, settlement, efflorescence and oil stains, sec 6). cma.org.za (PDF)
- Concrete Manufacturers Association — A step-by-step guide to perfect paving (2016; Step 7, placing jointing sand; Step 8, maintenance). specifile.co.za (PDF)
- Interpave (UK Precast Concrete Paving & Kerb Association) — Concrete Block Paving: guide to the properties, design, construction, reinstatement and maintenance of concrete block pavements, Edition 2, May 2012 (section 5, cleaning, maintenance and sealing). paving.org.uk (PDF)